
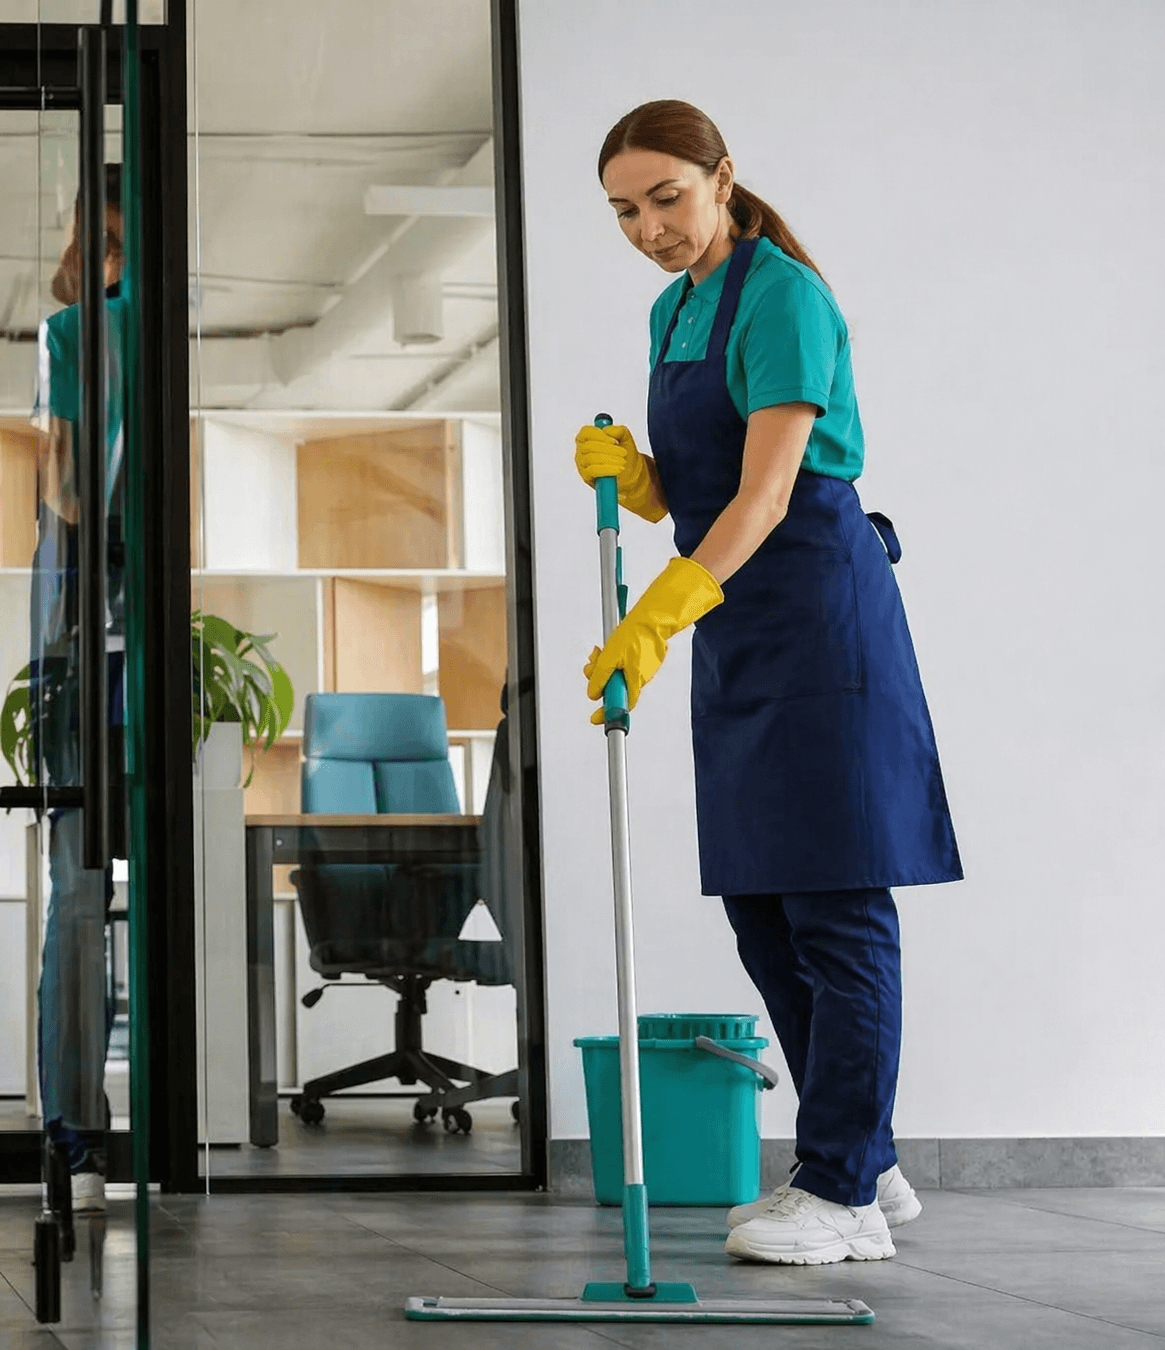
The 6-Step Process for Deep Cleaning Office Spaces: A Professional Guide
A regular daily clean keeps an office presentable. But a deep clean removes the dirt that accumulates in places people don’t usually notice under desks, inside baseboards, ceiling corners the places that make the difference between “this office looks okay” and “this office is genuinely clean.”
Here’s the exact 6-step process professional cleaning teams use for office deep cleans.
Before You Start: Preparation is Everything
Before your team sets foot in an office with cleaning equipment, three things need to happen:
1. Schedule the deep clean
Most offices schedule deep cleans outside business hours (early morning, evening, or weekends). Coordinate with building management to confirm access, timing, and any site-specific requirements.
2. Audit the space.
Walk through the office and identify:
– High-touch surfaces (door handles, light switches, handrails)
– Problem areas (stained carpet, scuffed walls, dusty corners)
– Fragile items (plants, art, electronics) that need protection
– Traffic patterns (where dirt accumulates most)
3. Gather equipment and products.
Based on your audit, assemble:
– Vacuum cleaner (backpack or upright, depending on carpet size)
– Floor cleaning equipment (mop, floor buffer, or extraction machine)
– Microfibre cloths (multiple, for different areas)
– All-purpose cleaner, glass cleaner, disinfectant
– Trash bags, broom, dustpan
– Step ladder (for high areas)
– Wet floor signs
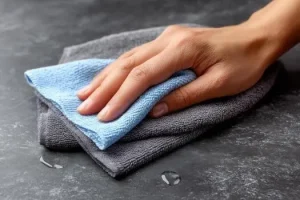
Step 1: Declutter & Dust Top-Down
Start at the top of the room and work downward. This way, dust falls to surfaces below, and you clean them last.
Top areas (first):
– Ceiling corners and cobwebs (use a brush or microfibre duster)
– Light fixtures and lampshades
– Air vents
– Picture frames and wall art
– Shelving and decorative items
– Door frames (top of door, top of frame)
Mid-level areas:
– Desk surfaces (clear clutter first, wipe down)
– Shelves
– Whiteboards and glass surfaces
– Windowsills (inside and outside)
– Radiators or heating vents
Action: Use a microfibre duster for dry dust. For sticky dust (common in kitchens or near printers), use a damp cloth. Always wipe, don’t just blow dust around.
Time estimate: 15-20 minutes for a typical office floor.
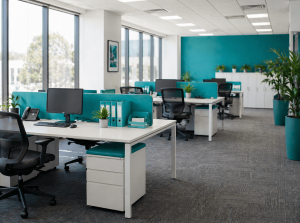
Step 2: Clean Horizontal Surfaces (Desks, Tables, Shelves)
Now that loose dust has fallen, clean all horizontal surfaces.
Desks:
– Remove all items and move to the side
– Wipe down with all-purpose cleaner and microfibre cloth
– Pay attention to desk corners and cable management areas (they trap dust)
– Return items once surface is dry
– Don’t leave items on wet surface
Shelves & Bookcases:
– Remove items shelf by shelf
– Wipe with all-purpose cleaner
– Return items once dry
Conference Tables & Common Areas:
– Clear completely
– Wipe with all-purpose cleaner
– Disinfect high-touch areas (armrests, table edges)
– Allow to air dry before returning items
Action: Use separate cloths for different areas to avoid cross-contamination (one cloth for desks, separate cloth for shared surfaces to avoid spreading germs).
Time estimate: 20-30 minutes depending on office size and clutter.
—
Step 3: Clean Vertical Surfaces & High-Touch Areas
Vertical surfaces collect dust and fingerprints. High-touch areas carry germs.
Walls & Baseboards:
– Wipe baseboards with all-purpose cleaner and cloth (they collect dust)
– Address scuffs with a magic eraser if needed
– Use caution near paint test cleaner first
Door Handles & Light Switches:
– These are the germiest surfaces in an office
– Wipe thoroughly with disinfectant spray
– Check both sides (often the back is forgotten)
– Include door frames
Glass Partitions & Windows:
– Use glass cleaner for streak-free results
– Wipe with vertical motions (top to bottom)
– Window sills collected dust wipe those too
Whiteboards & Notice Boards:
– Erase any residual pen marks
– Wipe with appropriate cleaner (whiteboard-safe only)
– Dry completely to prevent marker drag
Action: For disinfection, use an EPA-approved disinfectant and let it sit for the required contact time (usually 30 seconds to 1 minute) before wiping.
Time estimate: 15-25 minutes depending on office complexity.
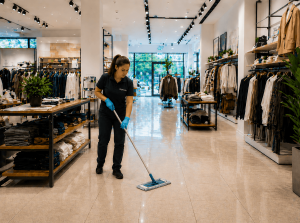
Step 4: Vacuum & Sweep Flooring
Now that all surfaces above floor level are clean, deal with the floor.
Carpeted Areas:
– Vacuum thoroughly in overlapping passes
– Go slowly — one pass per second moves the vacuum head too fast for bristles to loosen dirt
– Edge vacuuming along walls and under desks (dirt hides there)
– Use crevice tool around baseboards
Hard Floors (tile, laminate, vinyl):
– Sweep first to remove larger debris
– Use broom and dustpan in corners
– Vacuum corners and edges (broom doesn’t catch everything)
Action: Don’t skip this step. Vacuuming before mopping prevents dirt from turning into mud on your mop.
Time estimate: 15-20 minutes for a typical office floor.
—
Step 5: Wet Clean Floors
After vacuuming, it’s time to wet clean.
For Tile or Hard Floors:
– Fill bucket with warm water and floor cleaner
– Mop in one direction (e.g., toward the door)
– Don’t oversaturate — wring mop thoroughly before application
– Change water if it becomes visibly dirty
– Use wet floor signs — people slip on wet floors
For Carpet:
– Light soiling: Use a carpet spot cleaner on problem areas only
– Heavy soiling: Use a carpet extraction machine (hot water extraction)
– Allow adequate drying time (2-4 hours minimum)
– Don’t allow foot traffic until completely dry
Special Areas:
– Kitchen or break room: More frequent passes and warmer water
– Entrance areas: Extra attention (they get the most dirt)
– Under desks: Often missed but accumulates debris
Action: Mopping is last because dirt from above has now fallen to the floor. If you mop first, dust falls on your clean floor.
Time estimate: 20-30 minutes depending on floor type and size.
—
Step 6: Final Touches & Quality Check
A professional deep clean includes these finishing details:
Trash & Recycling:
– Empty all bins
– Replace liners
– Wipe down outside of bins if sticky
Final Details:
– Adjust items you moved back to their proper positions
– Ensure nothing is left behind
– Close windows if you opened them for ventilation
– Turn off equipment and put supplies away
Quality Check:
Walk through the office as though you’re seeing it for the first time:
– Does the floor shine?
– Are high-touch surfaces visibly clean?
– Are there any streaks or smudges on glass?
– Do corners and baseboards look clean?
– Does the space smell fresh (not chemical)?
Document the clean:
– Take before/after photos (if possible)
– Note any areas that need attention at next visit
– Report any maintenance issues to building management
Time estimate: 10-15 minutes for final check and touch-ups.
—
Timing Your Deep Clean
Total time for a typical office floor (2,000-3,000 sq ft):
– Preparation: 10 minutes
– Steps 1-2 (dust & desks): 40-50 minutes
– Step 3 (vertical surfaces): 20 minutes
– Step 4 (vacuum): 15-20 minutes
– Step 5 (wet clean): 25-35 minutes
– Step 6 (final check): 10-15 minutes
Total: 2.5-3 hours for a thorough deep clean
This assumes normal office soiling. Heavily soiled or larger offices take longer.
Frequency & Maintenance
Monthly deep cleans are standard for most offices. Some sites (medical offices, high-traffic facilities) deep clean bi-weekly.
Between deep cleans, daily maintenance keeps the office clean:
– Vacuum high-traffic areas daily
– Wipe down desks end-of-day
– Mop entry areas
– Clean bathrooms
A deep clean maintains the investment. Skipping deep cleans means dirt accumulates, and the office begins to look worn and unprofessional.
—
About Brightside Cleaning
At Brightside Commercial Cleaning, we deliver deep cleans using this 6-step process or a customized version tailored to your office’s specific needs. Our teams are trained to notice what matters: the details that make your office look genuinely clean, not just superficially tidy.
If you’d like to discuss a deep cleaning program for your office, contact us for a consultation.